
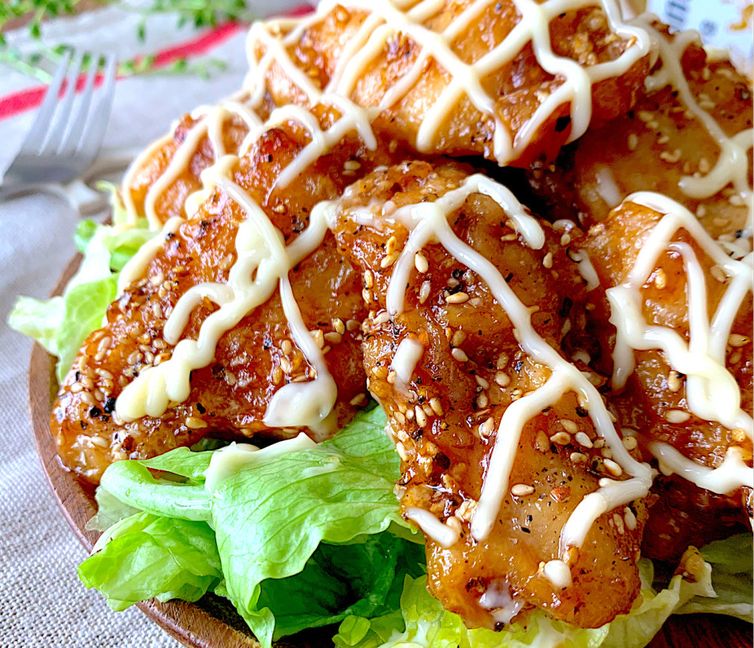
कोमल और रसीली चिकन थाइज़ को एक बोल्ड, मीठी और नमकीन चटनी में भिगोया गया है—यह डिश उन लोगों के लिए स्वाद से भरपूर है जिन्हें भरपेट खाना पसंद है! यह लेट्यूस, मेयोनेज़ और ठंडी बियर के साथ बेहद अच्छी तरह जाती है, इसलिए सुनिश्चित करें कि आपके पास पर्याप्त मात्रा में हो!
━━━━━━━━━━━━━━━
आसान ★★★☆☆
जल्दी बनने वाला ★★★☆☆
बजट-अनुकूल ★★★☆☆
स्वाद ★★★★★
बियर के साथ परफेक्ट ★★★★★
चावल के साथ परफेक्ट ★★★★★
बर्गर में बढ़िया ★★★★★
ठंडा भी स्वादिष्ट ★★★★★
कैलोरी ★★★★★‼︎
━━━━━━━━━━━━━━━
20 मिनट

Oneko
प्रोफ़ाइल
सामग्री
सर्विंग 2
मूल रेसिपी (1X) से 2 सर्विंग बनती है
रेसिपी को स्केल करते समय, कुछ सामग्रियों के अनुपात में थोड़े समायोजन की आवश्यकता हो सकती है। आवश्यकतानुसार समायोजित करें और स्वाद के अनुसार सीजन करें।
- 12 oz boneless, skin-on chicken thighs
- 2 tbsp. all-purpose flour
- 5 tbsp. potato starch
- vegetable oil, for deep frying
- A2 tsp. sugar
- A2 tsp. chicken bouillon powder
- A1 tsp. vinegar
- A1 tsp. soy sauce
- A1 tsp. grated ginger
- A1 tsp. grated garlic (or paste)
- B1 tbsp. sake
- B1 tbsp. mirin
- B1 1/2 tbsp. soy sauce
- B1 tbsp. sugar
- B1 tbsp. sesame oil
- Ctoasted white sesame seeds, to taste (Plating)
- Ccoarsely ground black pepper, to taste (Plating)
- C½ of a head of lettuce (Plating)
- Cmayonnaise, to taste (Plating)
विधि
- 1
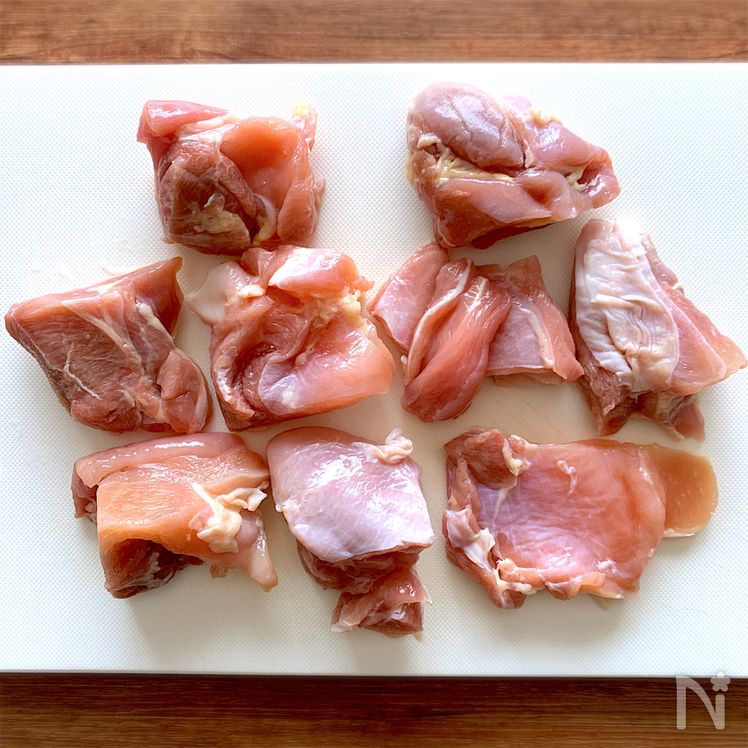
Cut the chicken thighs into large bite-sized pieces.
- 2
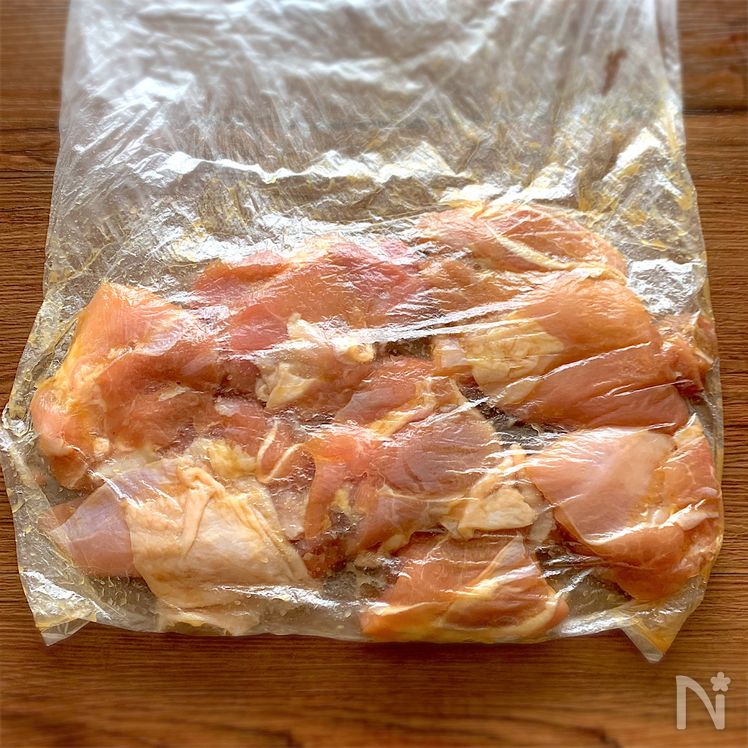
In a resealable bag, combine the chicken and ingredients from A. Massage gently and marinate for 10–20 minutes.
- 3
While the chicken marinates, combine ingredients from B in a microwave-safe bowl. Microwave at 500W for 1 minute, stir to dissolve the sugar, then add sesame oil.
- 4
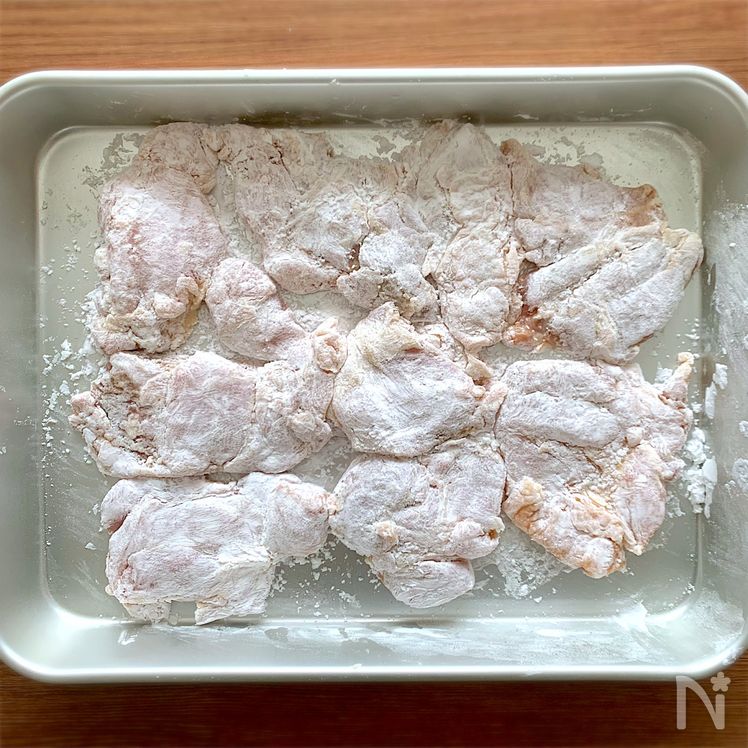
Add the flour to the chicken in the bag. Seal with air inside and shake until the chicken is evenly coated. Spread half of the potato starch in a tray, place the floured chicken pieces on top (spread them out), and sift the remaining potato starch over them. Pat with your hands to coat evenly.
- 5
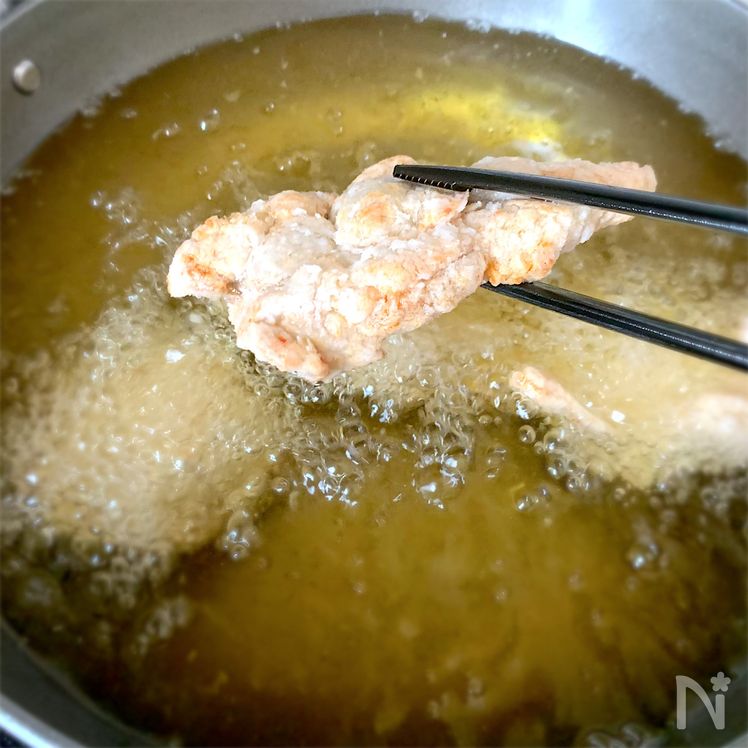
Heat frying oil to 350°F (180°C). Start frying the thicker pieces first, letting them float freely in the oil. When the bubbling becomes fine and the sound sharpens, remove them from the oil. (Thin pieces: fry for 2 ½ –3 minutes) (Thick pieces: fry for 3–3 ½ minutes)
- 6
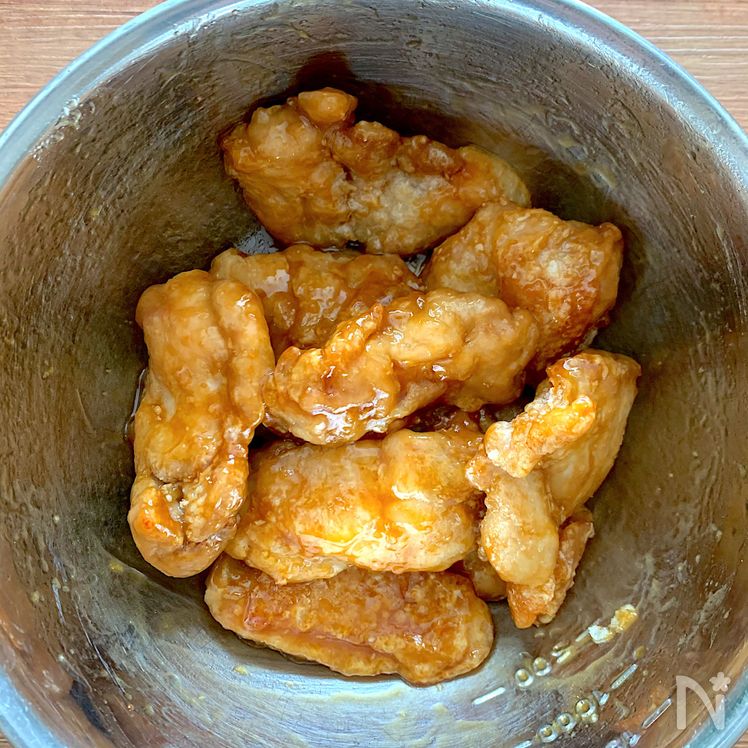
Place the fried chicken into a large bowl. Pour the sauce from step 3 over and toss to coat.
- 7
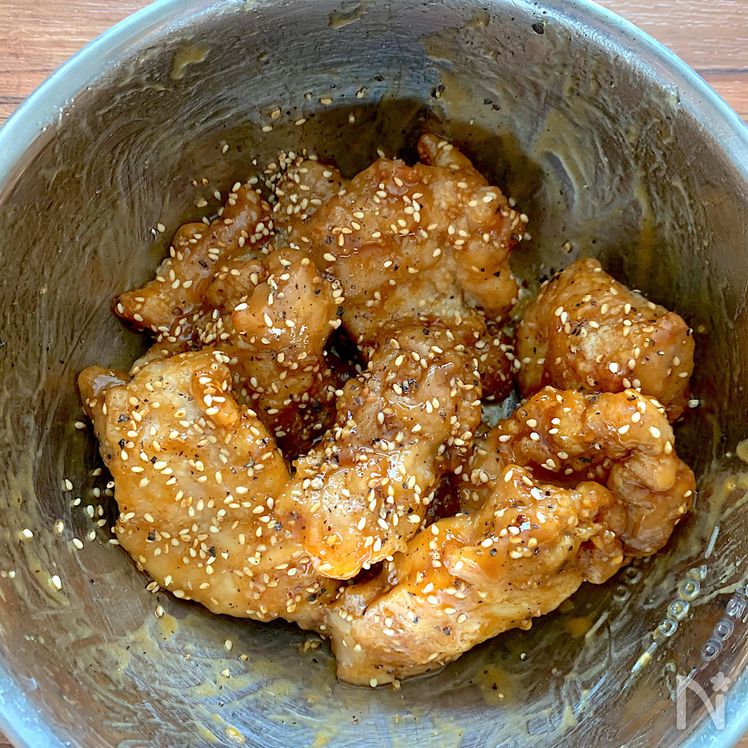
Once the sauce is absorbed and the chicken is glossy, sprinkle the chicken with sesame seeds and black pepper (C) to taste. Serve on a bed of lettuce with a generous squeeze of mayonnaise.
रेसिपी ID
181
सुझाव और नोट्स
मैरिनेड में इस्तेमाल की गई चीनी और सिरका स्वाद को अंदर तक समाने में मदद करते हैं और मांस को नरम रखते हैं।
यह एक नम और कोमल व्यंजन है न कि कुरकुरा, क्योंकि सॉस कोटिंग में अवशोषित हो जाता है।
पहले चिकन को मैदे की परत से ब्रेड करें, जो रसीलापन बनाए रखने में मदद करता है। फिर बिना चिपचिपाहट के कुरकुरा बाहरी हिस्सा बनाने के लिए आलू स्टार्च से खत्म करें।
चिकन को भरपूर तेल में तलें, इतना कि मांस तैरने लगे। इससे मांस रसीला रहता है और असमान पकाव या तेल के छींटे नहीं पड़ते, जिससे खाना बनाना और सफाई आसान हो जाती है।
मेरी रेटिंग
अपनी समीक्षा सबमिट करने के लिए मुफ्त में साइन अप करें या लॉग इन करें!
शुरू करेंसमीक्षाएं
पहले समीक्षा करें!
"I’m a fun-loving chef and devoted foodie, so captivated by Hokkaido’s incredible variety of ingredients that I decided to make it my permanent home. I’ve been living here for 20 years. In spring, I forage for wild vegetables; in summer, I camp; in autumn, I hunt for mushrooms; and in winter, I ski. I’m an active explorer who chases seasonal flavors and gourmet experiences all across Hokkaido—even if it means spontaneous long-distance trips. My motto is: “If the night is fun, tomorrow will surely be even better!” I focus on creating recipes for flavorful appetizers that liven up the evening and hearty main dishes that make you want to keep reaching for more rice."